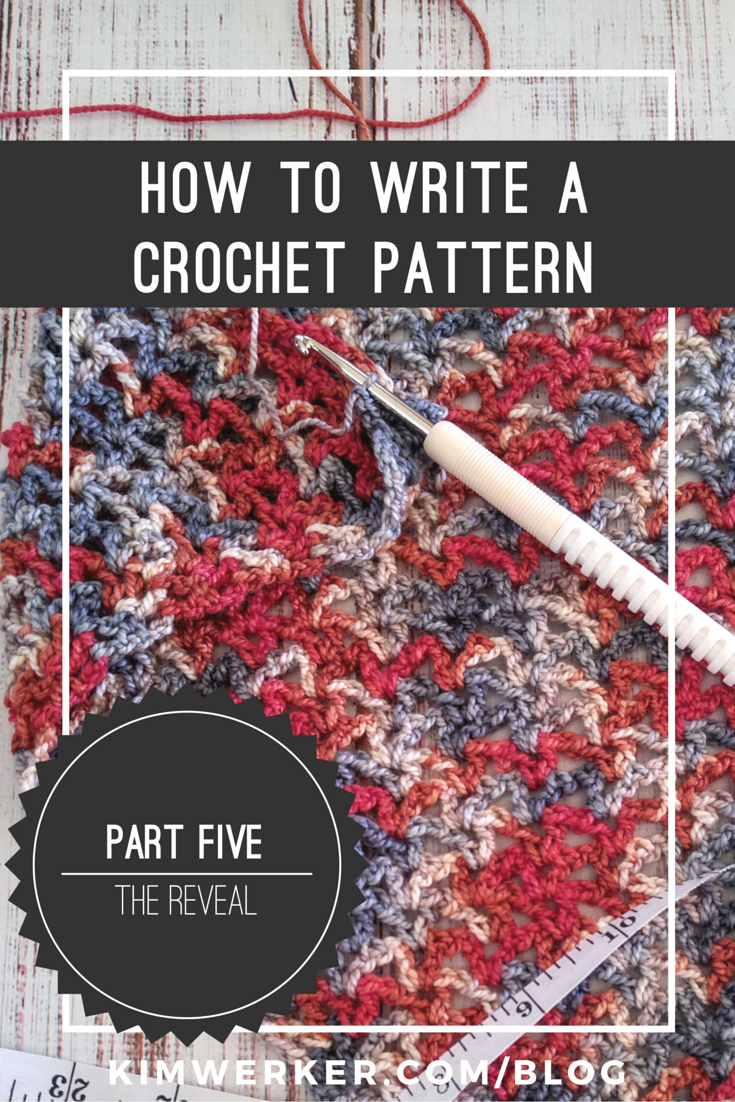
This is the 7th post in a 7 part series on how to write an outstanding crochet pattern. The rest of the series can be found here: part 1, part 2, part 3, part 4, part 5, part 6, part 7. There are five posts from me, and two fabulous guest posts from Kate Atherly.Â

So here we are. Time to wrap this series up!
We’ve covered why the information presented in the front matter of a pattern is so valuable; how and why it’s important to treat numbers and measurements accurately; how technical writing is different from other kinds of writing and why it’s important to focus on the clarity, brevity and accuracy of your pattern; and how images – photos, schematics and charts/diagrams – play an essential role, too. Kate Atherley expanded on the assumptions you make about your reader when you write a pattern, and on the importance of having your pattern professionally edited.
What Your Pattern Must Include
- The front matter:
- Title and your name
- Introduction
- Materials list
- Finished size (including metric and Imperial units of measurement)
- Gauge
- Notes (optional)
- Stitch definitions (optional)
- The pattern:
- It is clear, concise and consistent.
- The finishing instructions provide all the information your intended crocheter needs.
- It has been tech edited.
- The images:
- Clear photos showing all technically relevant details
- Stitch diagram (optional)
- Schematic (optional)
Here’s my general workflow when I prepare a crochet pattern.
- Fiddle with yarn and hook. Take lots of notes.
- Settle on a pattern. Write it down as I go.
- Transfer pattern notes into instruction format, checking against what I’ve crocheted.
- Finish crocheting.
- Finish writing instructions.
- Add in all the front matter information, with the blocked gauge added last since I usually have the project soaking as I write this section out.
- Send the full pattern to the tech editor, and request a stitch diagram if needed.
- Photograph finished project.
- Receive pattern and stitch diagrams back from tech editor.
- Edit photos.
- Lay out pattern with images.
- Put pattern up for sale.
That’s a lot of steps. Even if you do them in a different order, you can’t really skip any of them.
For the Resa Shawlette, which I began crocheting in early November, the whole process took about six weeks. The actual crocheting took less than one week of that time.
And here she is, out in the world, ready for crocheters everywhere. You can purchase the pattern – which I designed to bring out the best in a high-contast variegated yarn, specifically for first-time shawl crocheters and for people who love a chill, relaxing project – on Ravelry.
I’ll finish up with three things you should do to ensure you write an outstanding crochet pattern (or, really, any craft pattern at all):
- Keep your intended audience in mind. If you’re designing for beginners, make it something beginners can make. If you’re designing for people who love bold colour, use bold colour.
- Remember that while you know who your intended audience is, they do not know what you know. Be explicit when you write up your pattern. Be concise, consistent, and explicit.
- Pay a technical editor.
This has been the 7th (and final) post in a multi-part series on how to write a top-notch crochet pattern. The previous post was a second guest post from Kate Atherley, where she makes an excellent case for hiring a professional editor.
Thank you for sticking around for this whole series! I know I only covered things at a high level; if you have questions about anything at all, don’t hesitate to ask!


Thank you SO much for writing this series! It has been SO helpful! I’m just starting to design my own patterns and want to publish them and this format is great.
Thanks again!