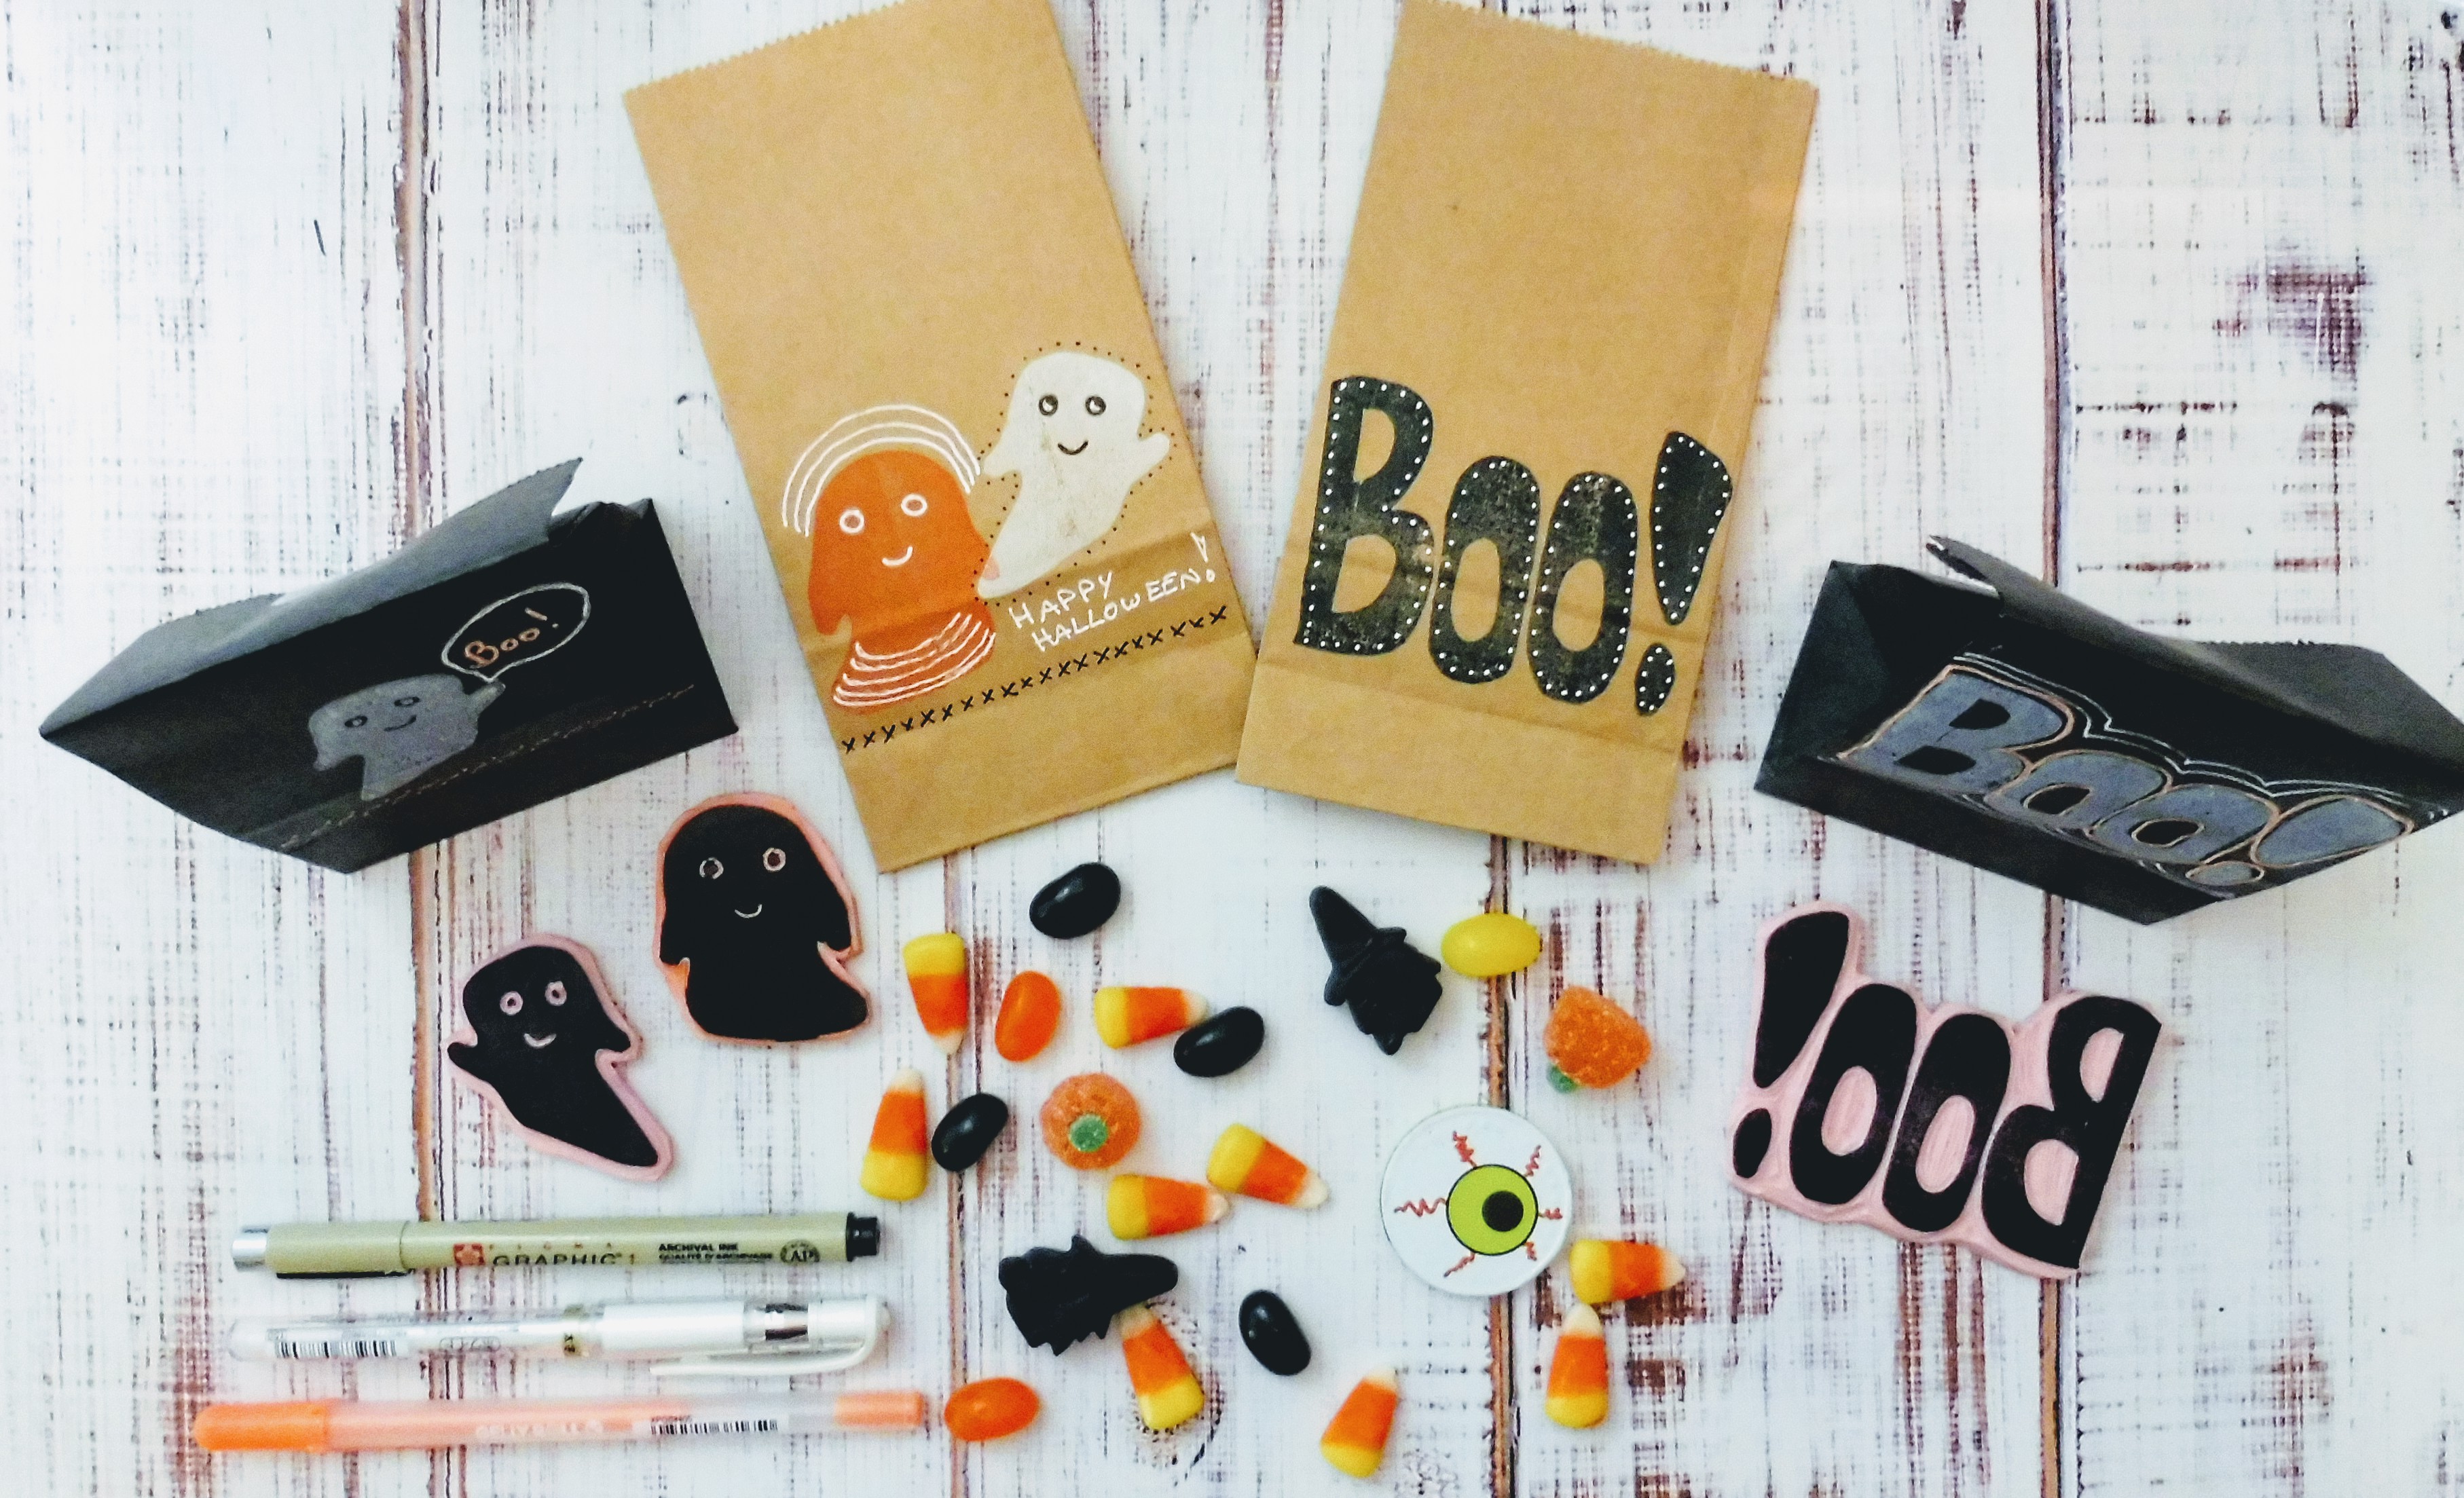
Just in time for Halloween (or, you know, any kind of occasion that calls for some spooky fun), here’s a super simple stamp project.
I carved some ghastly stamps and used them on small paper bags I’ll fill with treats for my kid’s friends for Halloween, but you could just as easily use them on cards, banners, posters, or any other kind of decoration.
Get the free halloween stamp template!

What You Need
Here’s everything you need to make Halloween treat bags (obviously, sub out the bags for an appropriate printing surface if you’re making cards or banners instead!)
- Carving tool
- One 4×6″ block of Speedball Speedy Carve or your preferred carving medium.
- Cutting mat
- Craft knife
- Small Paper bags, 3″ wide. (The depth and height of bags this size seem to differ by manufacturer, but any bag that’s at least 3″ wide will be perfect. These would be great!)
- Ink pad
- I used this one in black (it’s my favourite for any kind of use), this in an iridescent white, and the orange petal from this multicoloured collection.
- #2 Pencil
- Pencil sharpener
- Ballpoint pen
- Tracing paper
- Optional: Gel pens or other kinds of markers for embellishing after you’ve stamped

Tips
- Make sure you stamp the area of the bag that will be visible once the bag is full and the top is folded over.
- Keep in mind that the folds and seams of the bag will affect how the stamp applies the ink. Embrace the tiny imperfections!
- Not all light-coloured inks will show up well on dark paper – be sure to read ink labels carefully, and experiment.
- These stamps are cute on their own, if I do say so myself, but I love them even more when I use them as a starting point. In the photo at the top of the post, you can see how much more awesome the bags look with a little bit of gel pen and marker thrown into the mix.


